BACKGROUND
Resize your pictures first - so it's quick to upload and download them - see How do I resize my pictures?
Please remember not to put more than 20 photos into one gallery.
The most important thing to remember is that you have to save two things - first the Gallery (of images), and then the Item in which the gallery appears.
INSTRUCTIONS
1. After logging-in, use the menu at right to select what you want, e.g., "Add PHOTOS for 2019-Igls".
2. Give the item a Title
3. IGNORE THE NEXT FEW BOXES.
Scroll down right to the bottom and click on Simple Image Gallery Pro,
then click the button New Gallery.
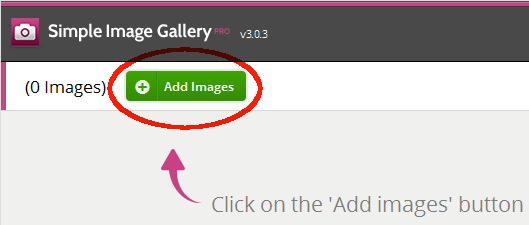
4. On the next screen, click the green button Add Images.
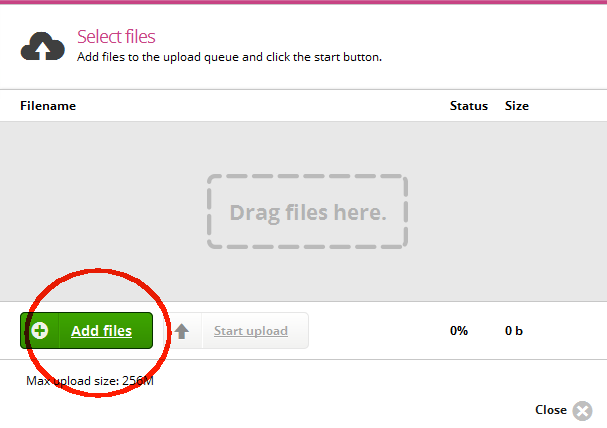
5. On the next screen, click the green button Add Files.
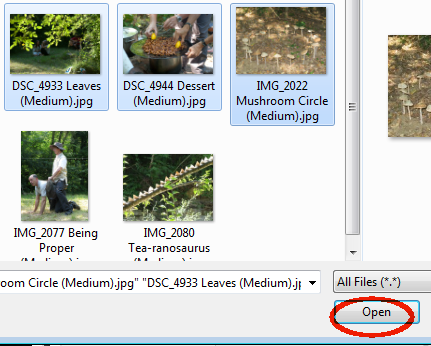
6. Select the files you want.
On the keyboard, hold down the Control key and click on each file you want.
OR click on the first one, then SHIFT+Click on the last.
Note that when selected, they have a blue background.
When you have selected all you want, click Open.
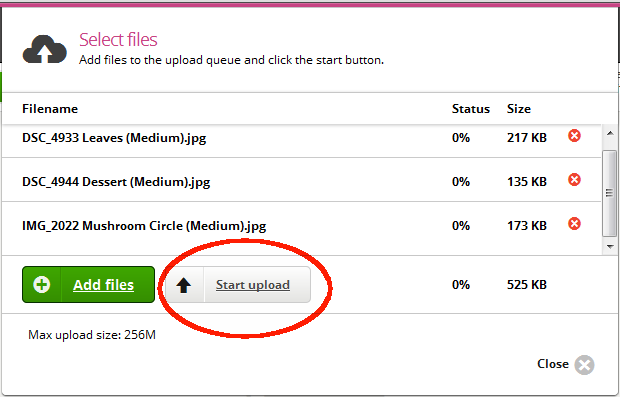
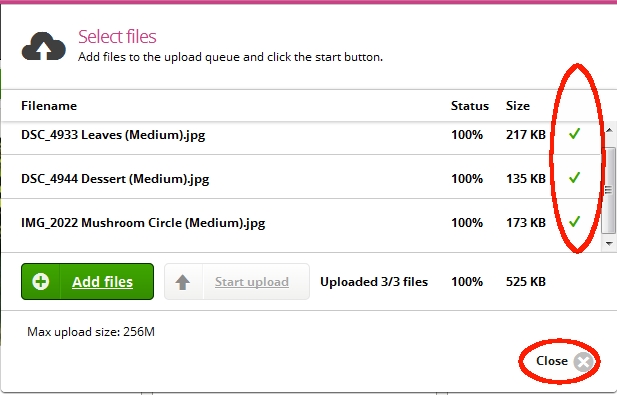
7. You will then see a screen which shows a list of the files you selected, and their sizes.
Then click Start Upload.
8. When they have finished uploading, you will see a green tick against each file name. Click Close.
9. If you wish, give each picture a Title and Description, then click Save and Close to save the gallery.
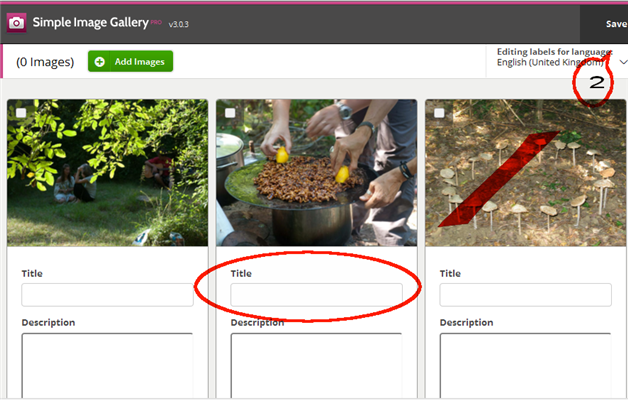
You will briefly see a message "Gallery saved".
12.Make your mouse hover over the Gallery you have just created until you see Insert and click this.
This puts the Gallery into the Item.
13. Now you need to save the Item itself .
Scroll up to the very top and click Save.
Wait for the message that shows it has been saved, then click Close.
The screen will then refresh to show you the Title of the Item you have saved.
To view the Gallery, click on the Title of the Item, then click on one of the small photos.
